This guide will show you the basics of AutoQ3D CAD for Apple devices as the iPad and iPhone. However most of the examples can be applied to smartphones and tablets running Android.
As you forwards this tutorial, you will notice that AutoQ3D CAD is not a paint or sketch application but a precise 2D / 3D CAD application.
In the following pages, you will learn how to make an easy drawing step by step to get familiar with the user interface. Lest’s start.
Note: the current screens may vary because the new updates in user interface, however the main concepts are the same.
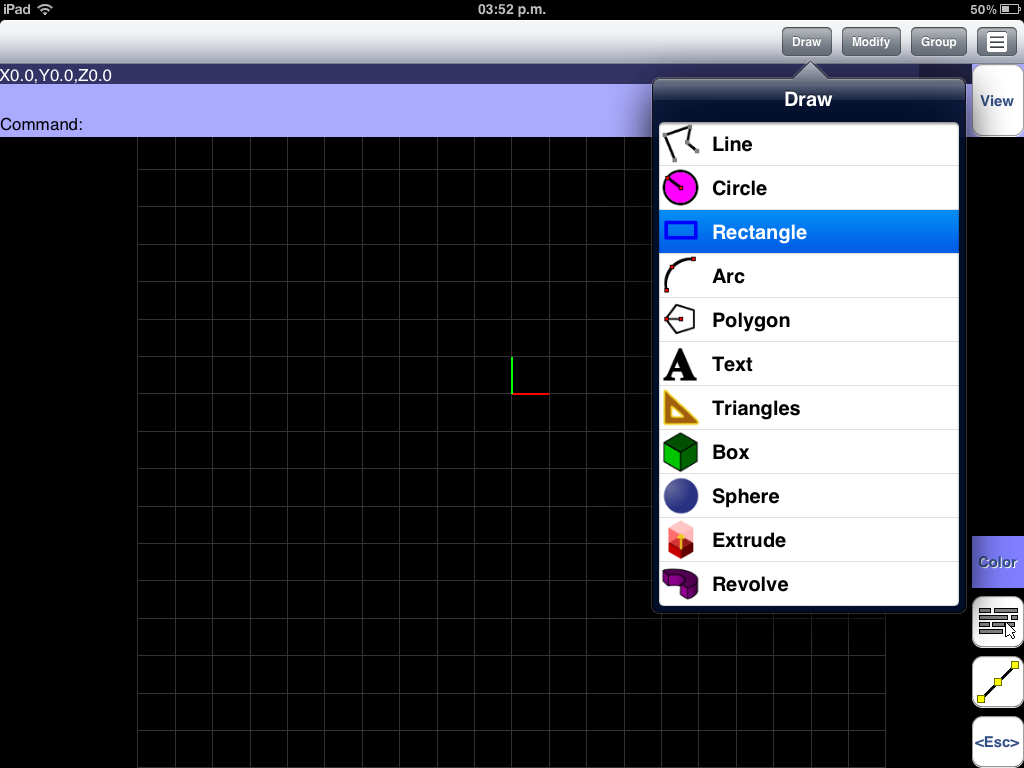
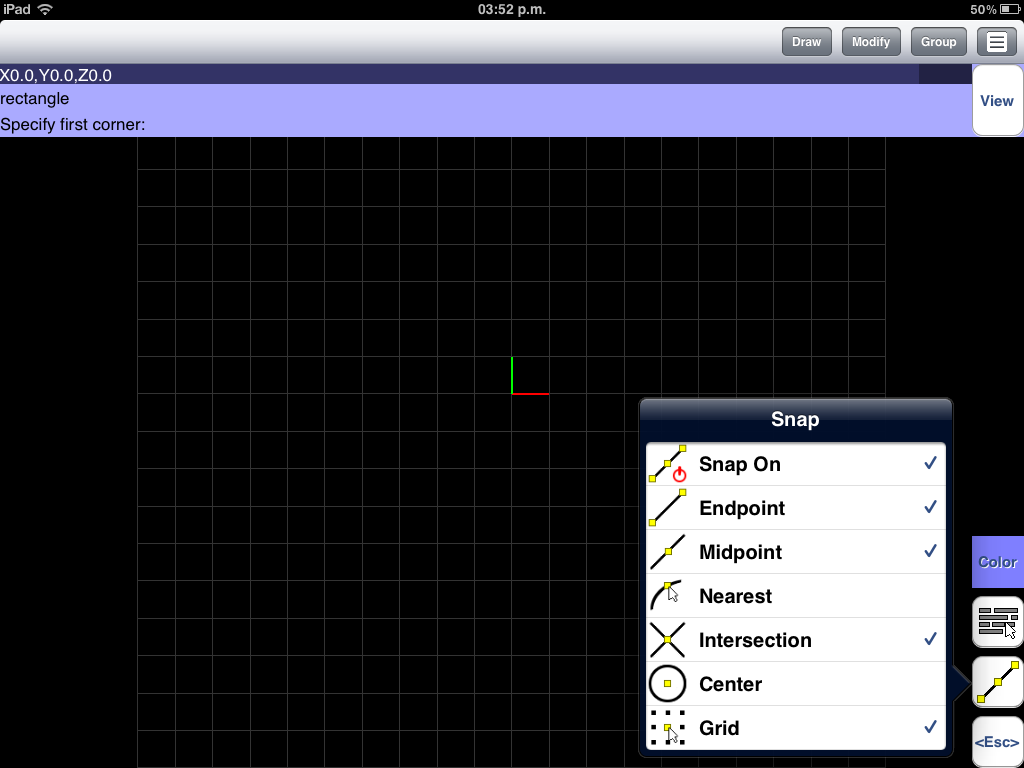
When AutoQ3D starts, touch the Menu button and then select Draw – Rectangle.
Touch Snap button and then select Grid.
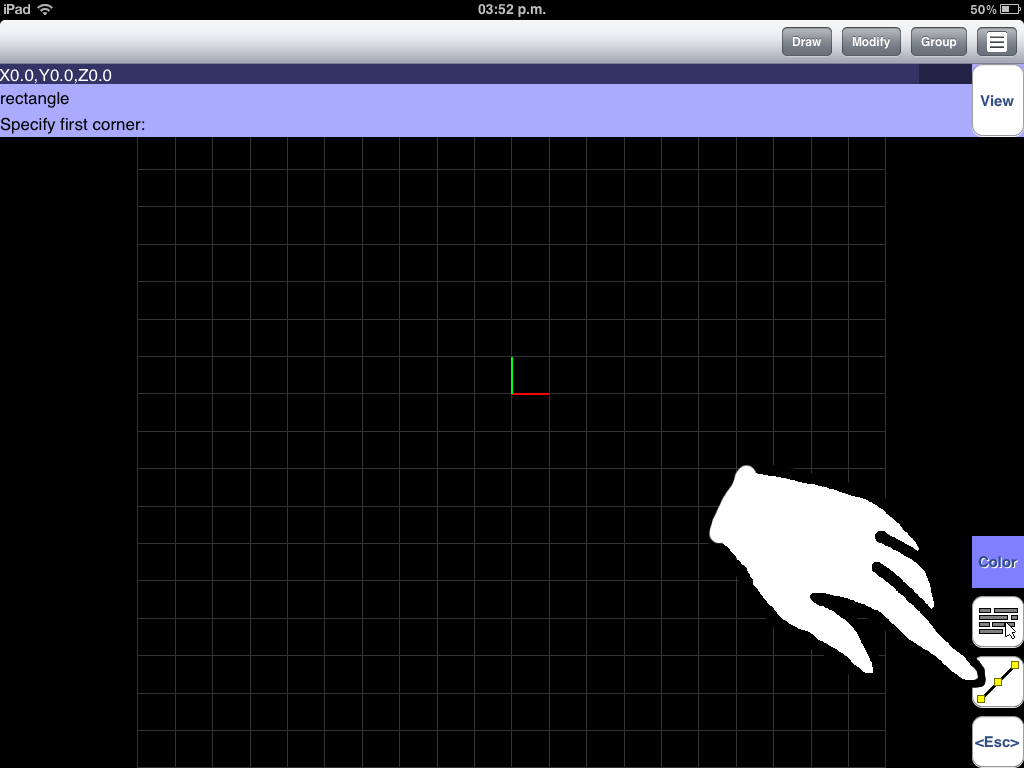
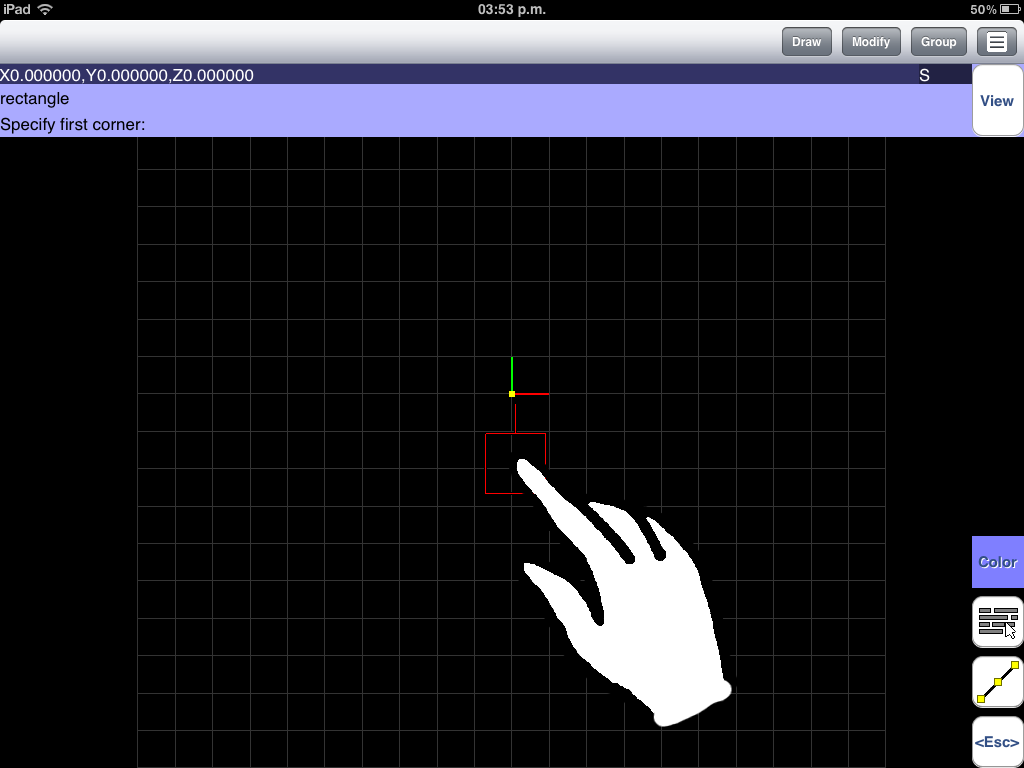
Move your pointer to coordinates 0,0 and hold touching the screen, then second touch to everywhere on the Drawing area.
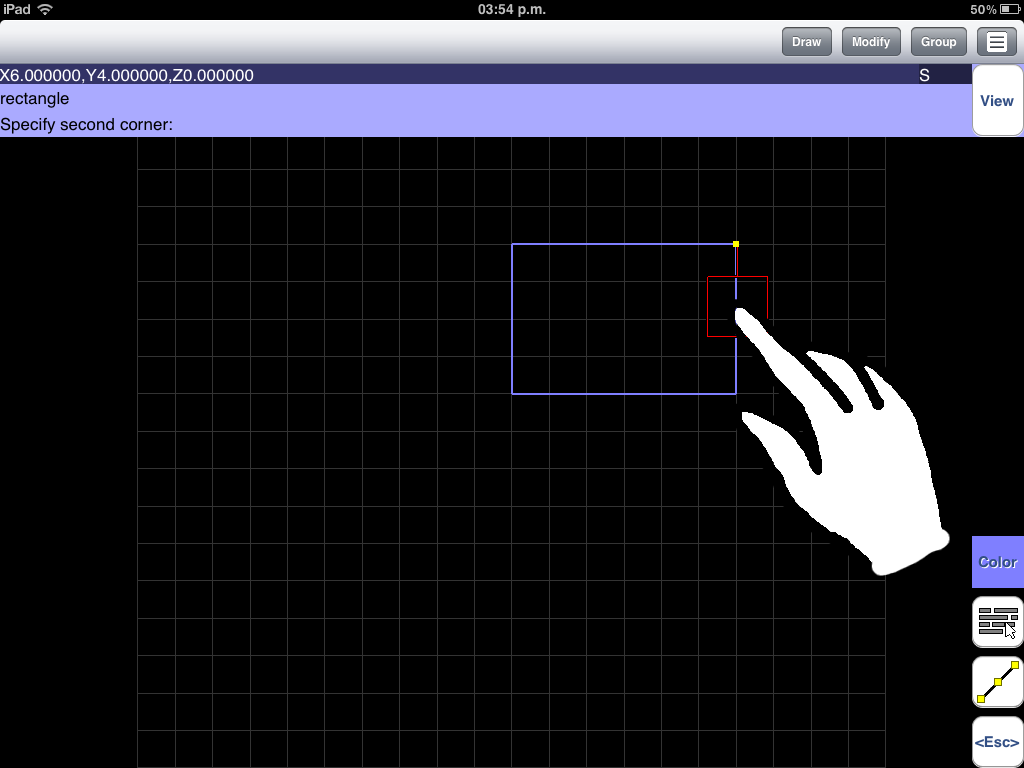
Move to coordinates 6,4 and set the points using the second touch procedure as in the previous step.

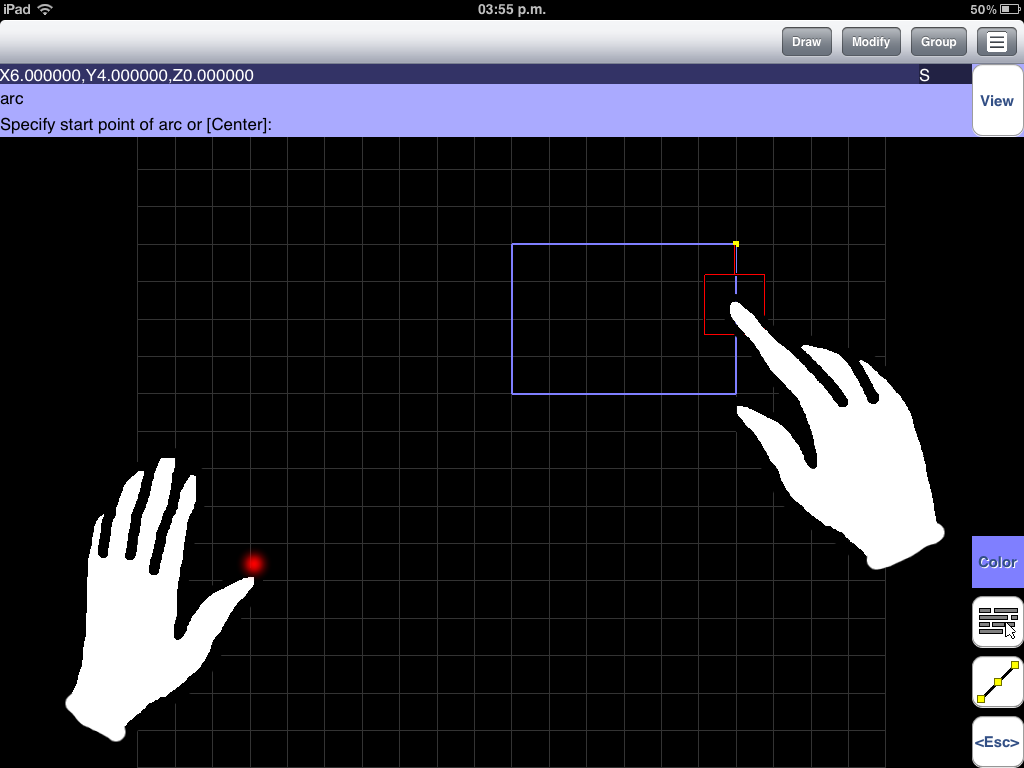
Now that you have a rectangle, touch Snap button and select Endpoint.
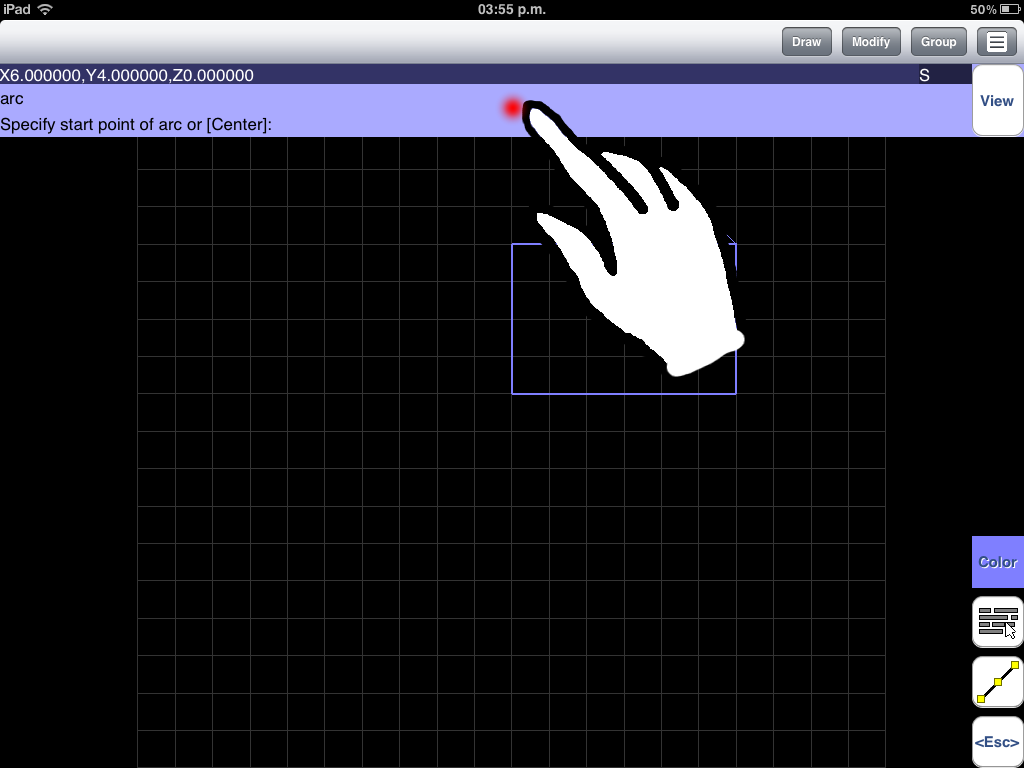
Select Draw – Arc.

Touch your screen to move your pointer to coordinates 6,4 and second touch the Drawing area.
To input the second point, we will input coordinates manually. Just touch on top of the screen and select >>Value.
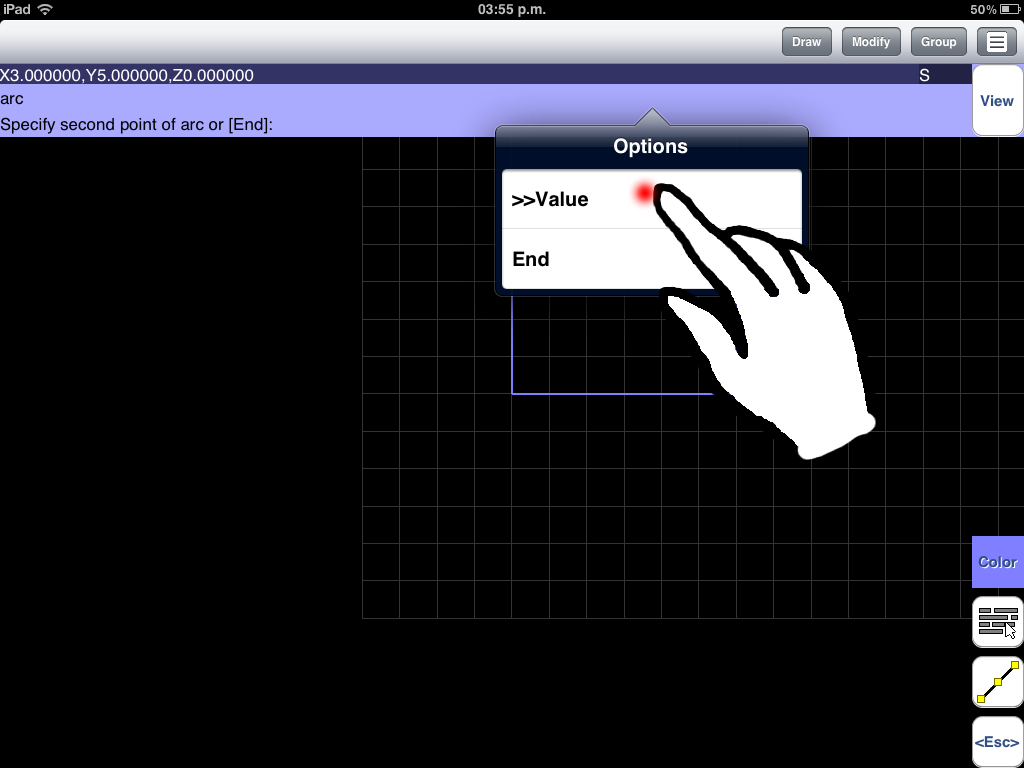
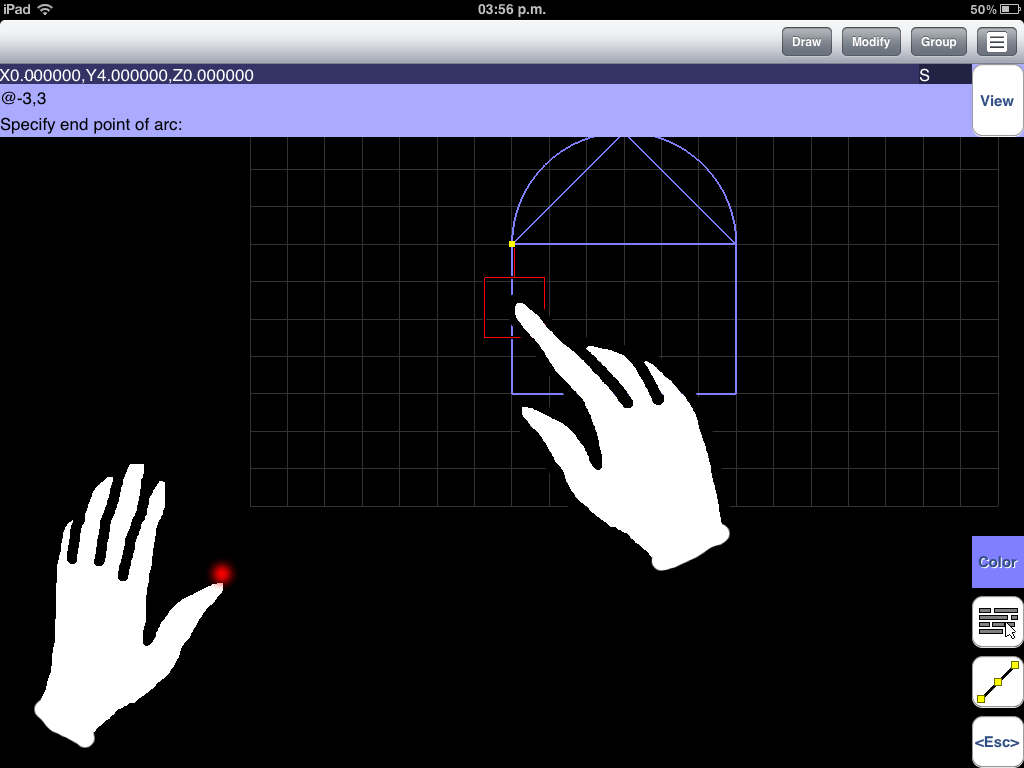
A virtual numeric keyboard appears. Type “@-3, 3”. The “@” symbol means that the coordinate is relative to the current point. Finally touch OK button.
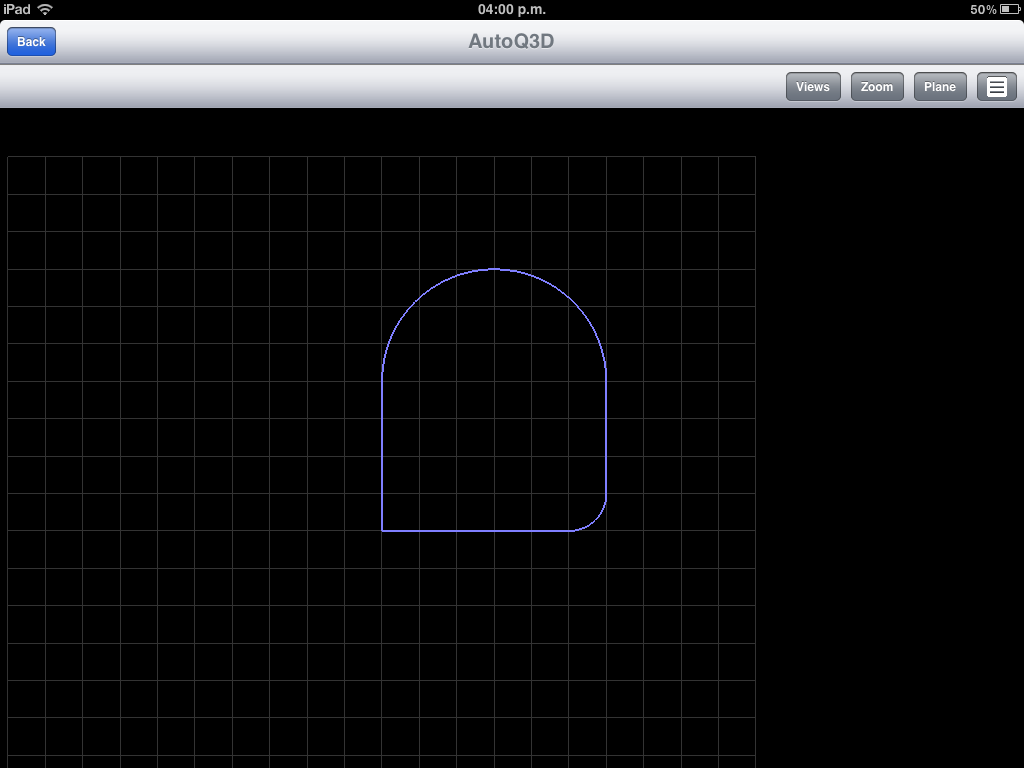
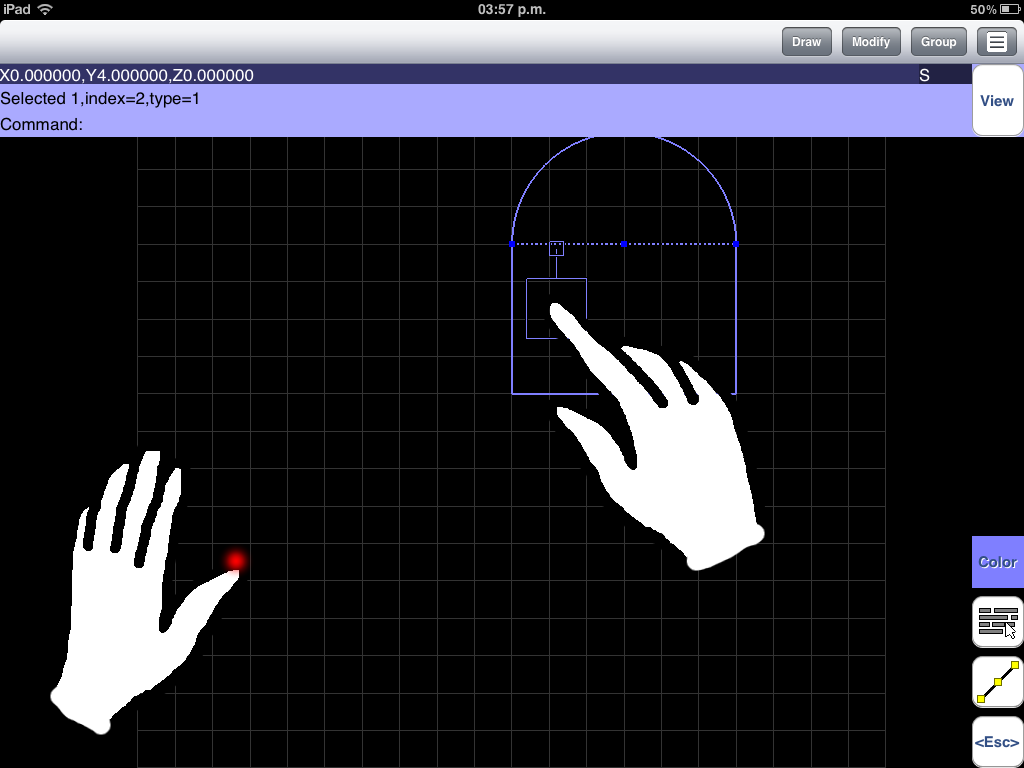
Select the third point, just move your cursor to the end point and finally second touch on Drawing area.
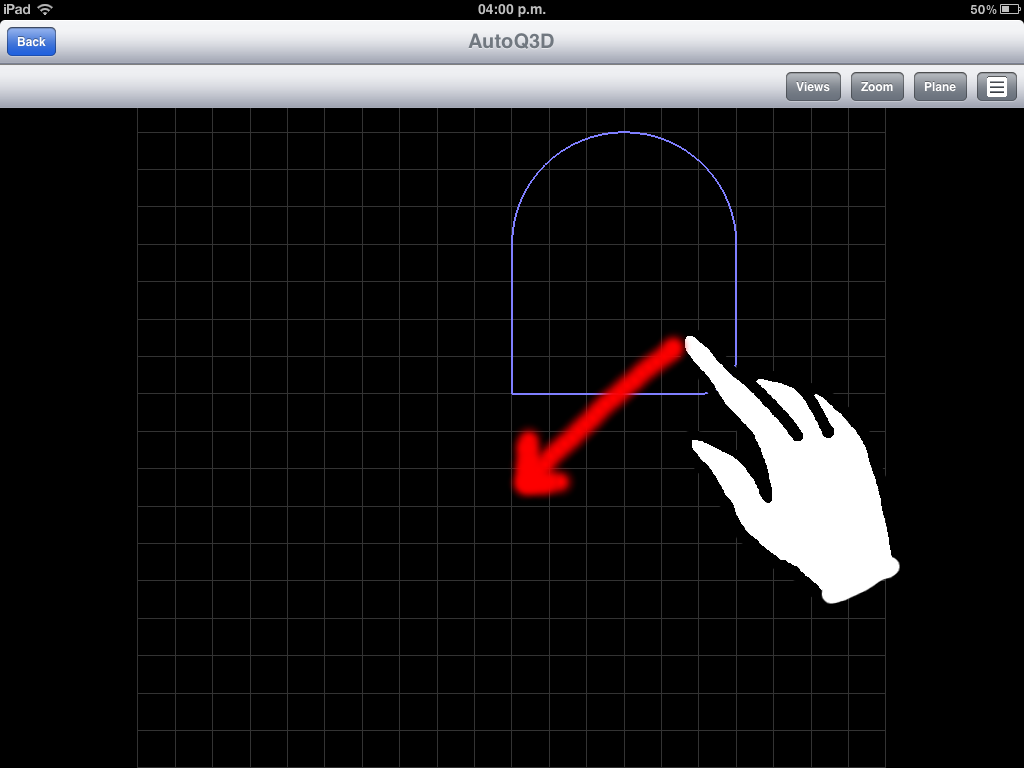
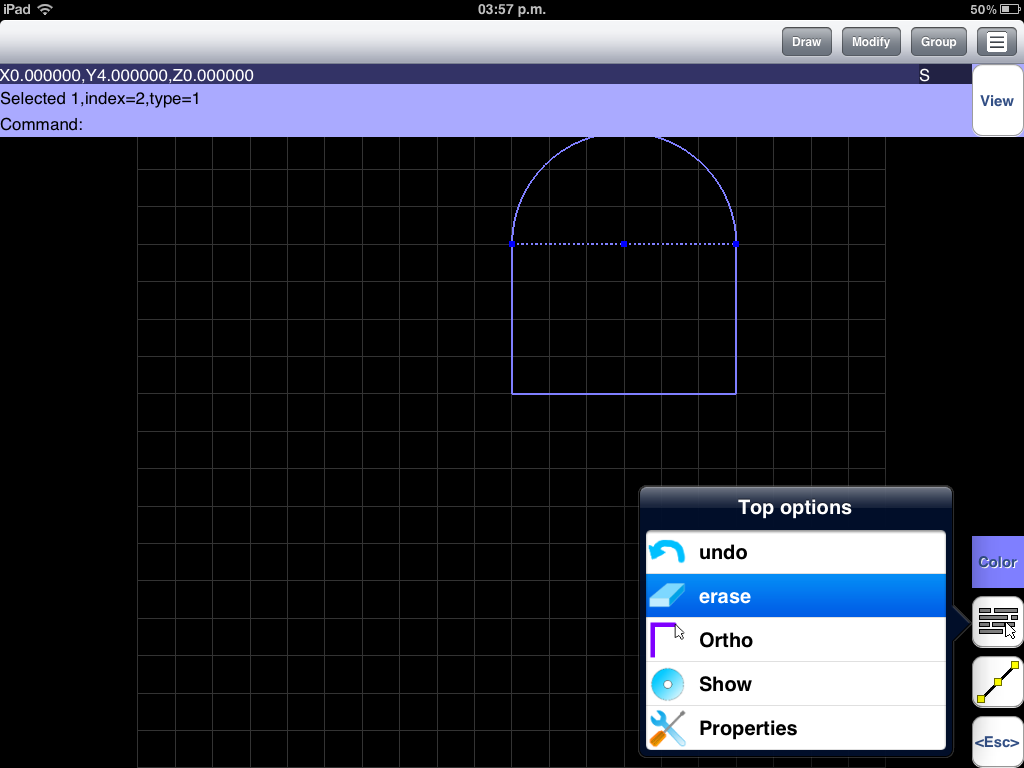
Now we will erase the line located at the top. Just touch the screen and set the cursor with the small square pointing to the line and then make a second touch on Drawing area, finally release the touch. Note: if you maintain touching the screen with the second input and then move the cursor, then you will select a region. To cancel the current command just press Esc button.
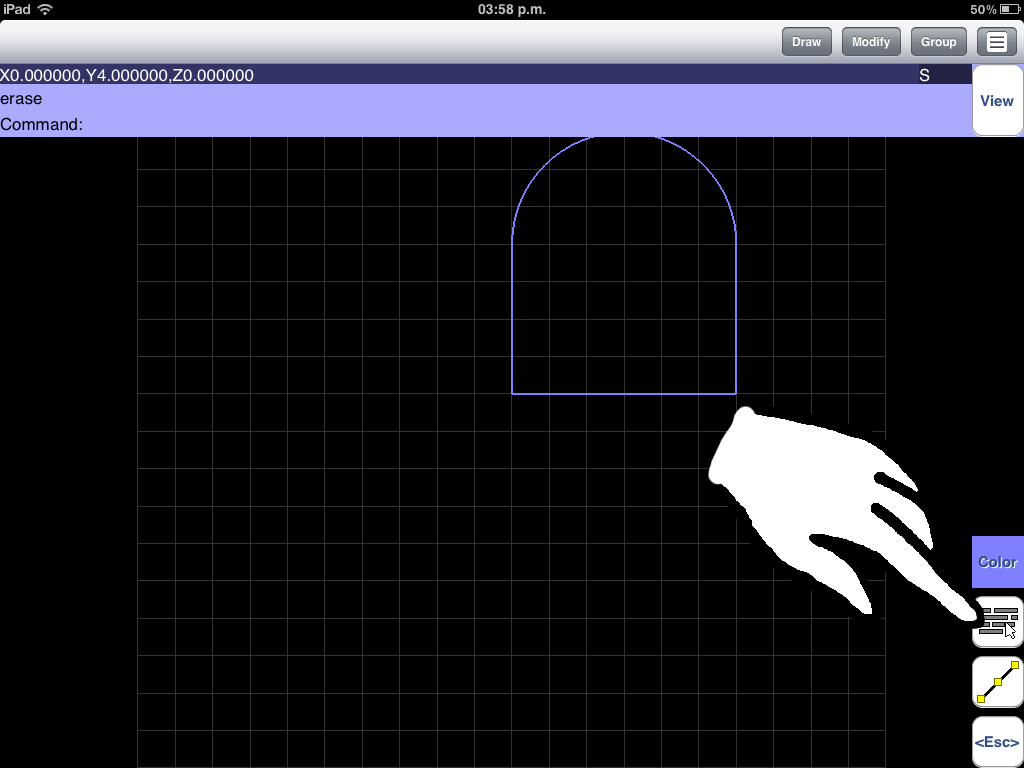
Touch Top option button and select Erase tool.
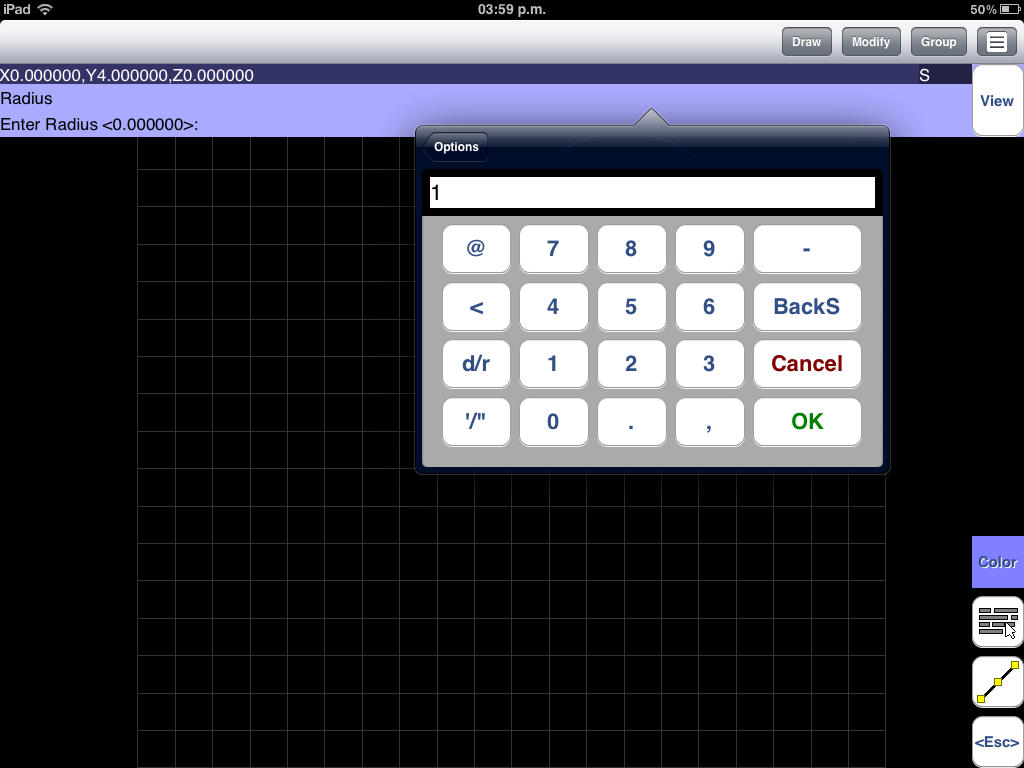
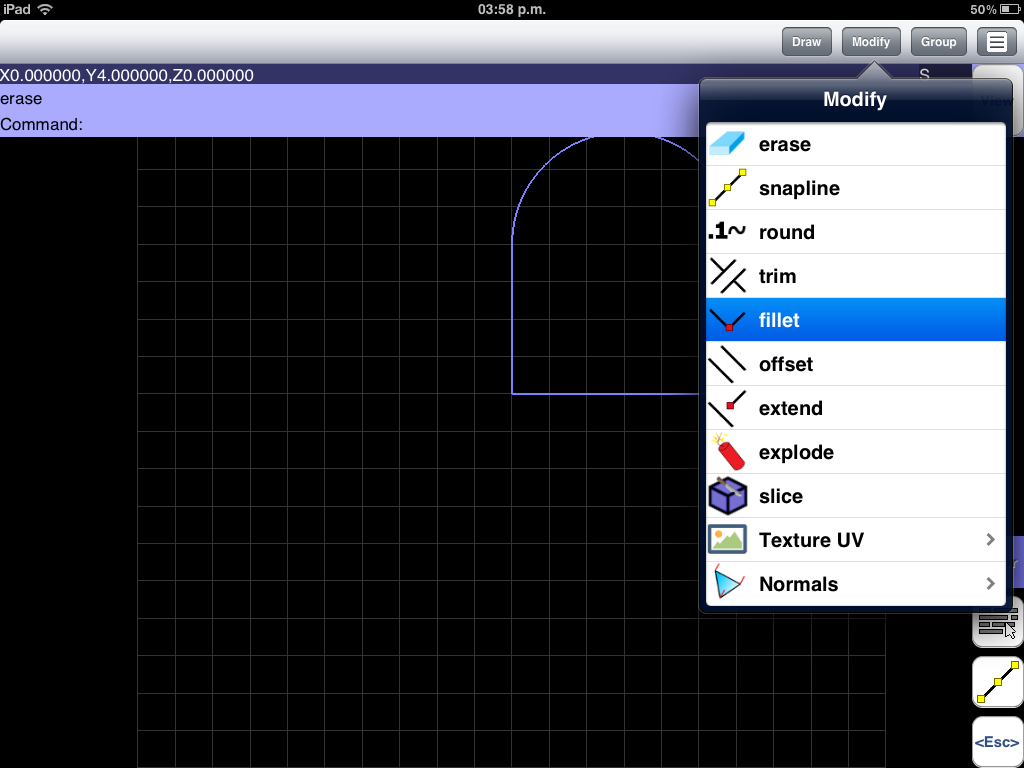
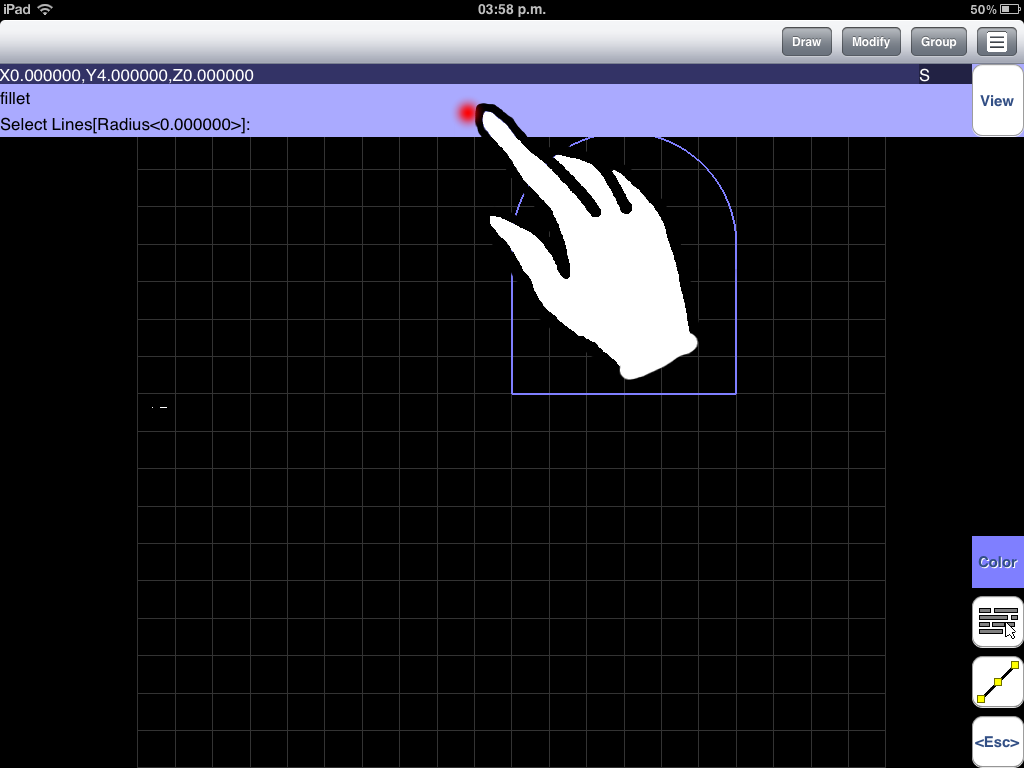
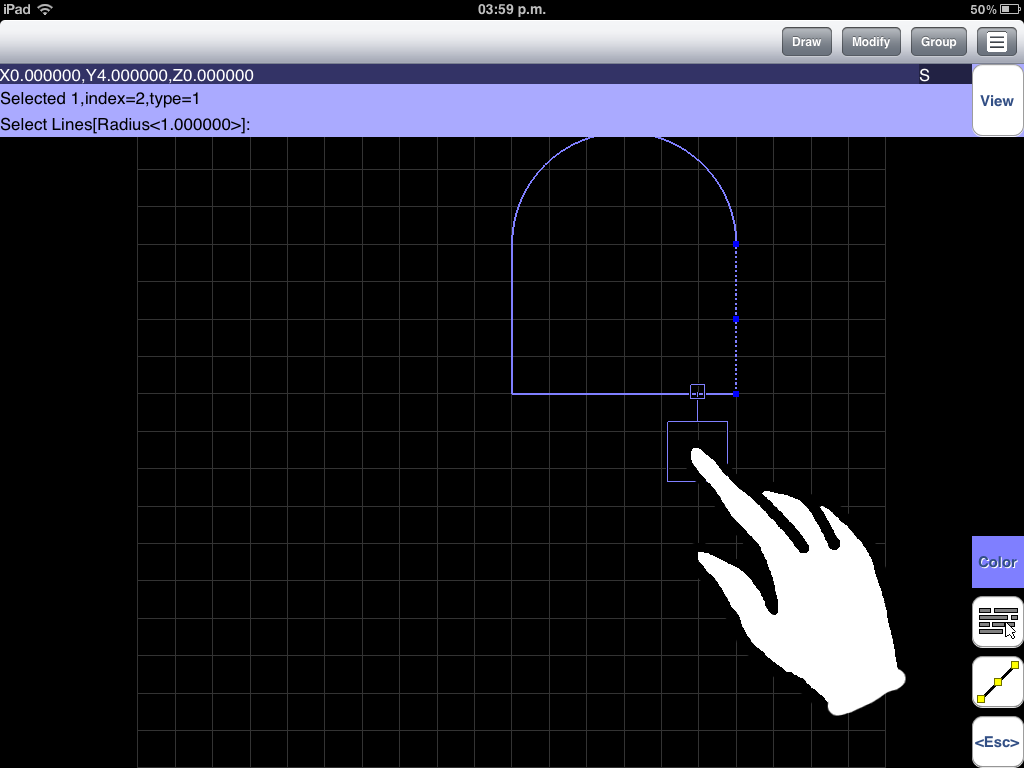
Now, we will make a round fillet. Press the Menu button and select Modify-Fillet tool.
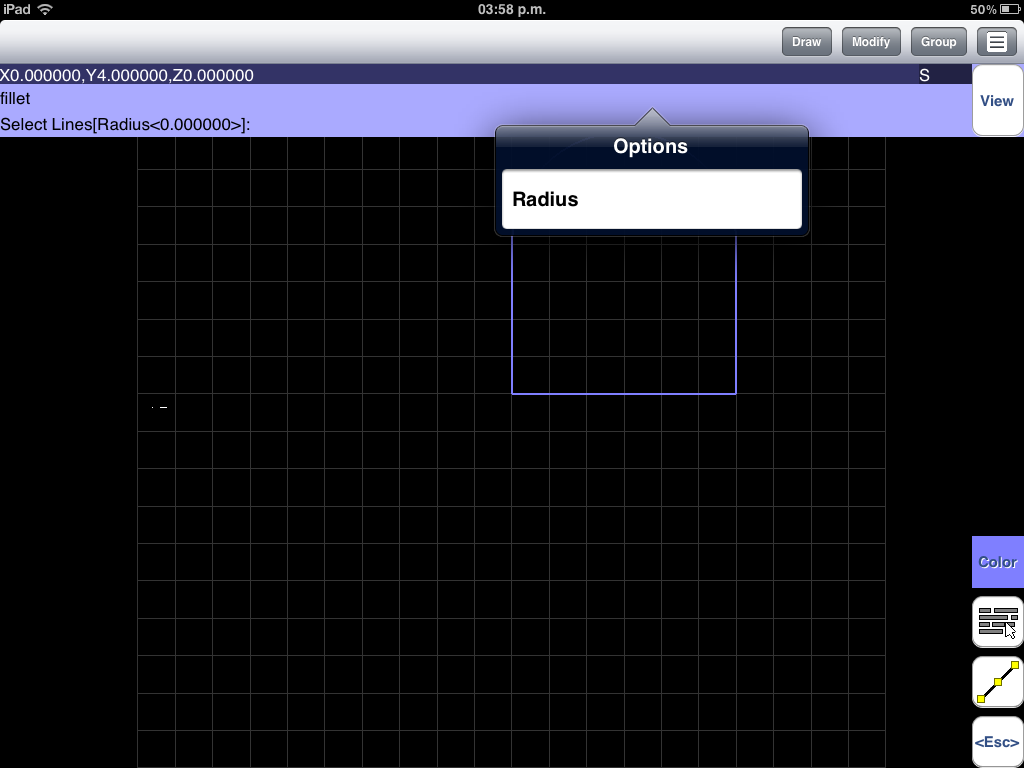
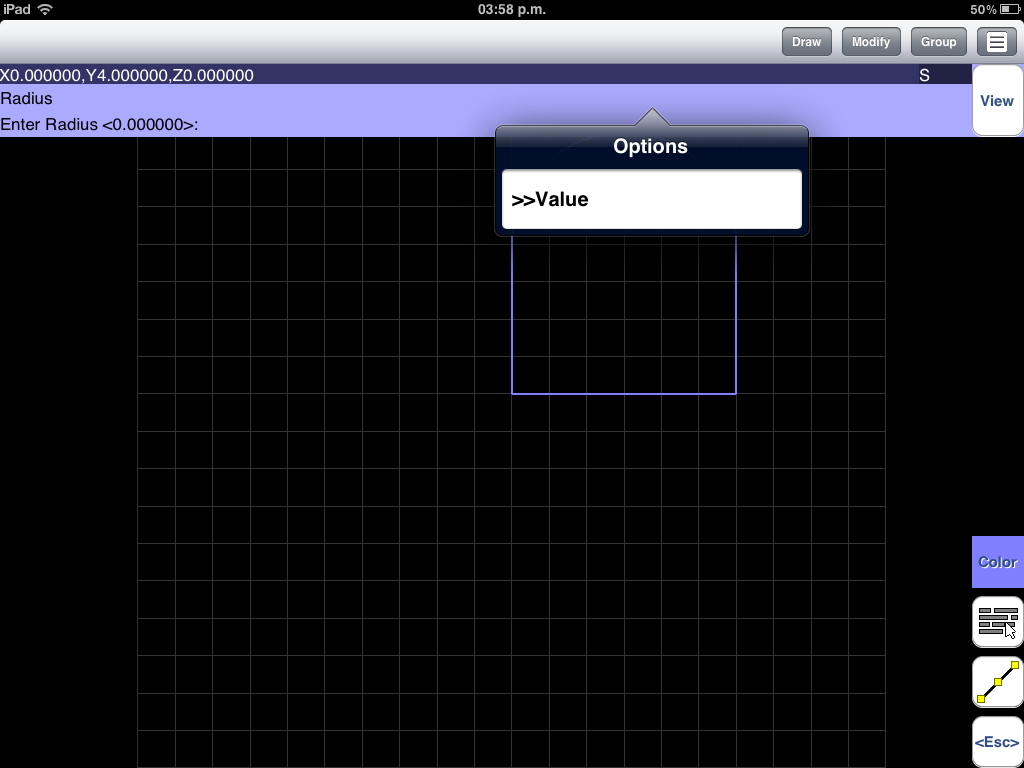
Select the line. Touch the top of the screen, select Radius”. Select Value and then type “1”.
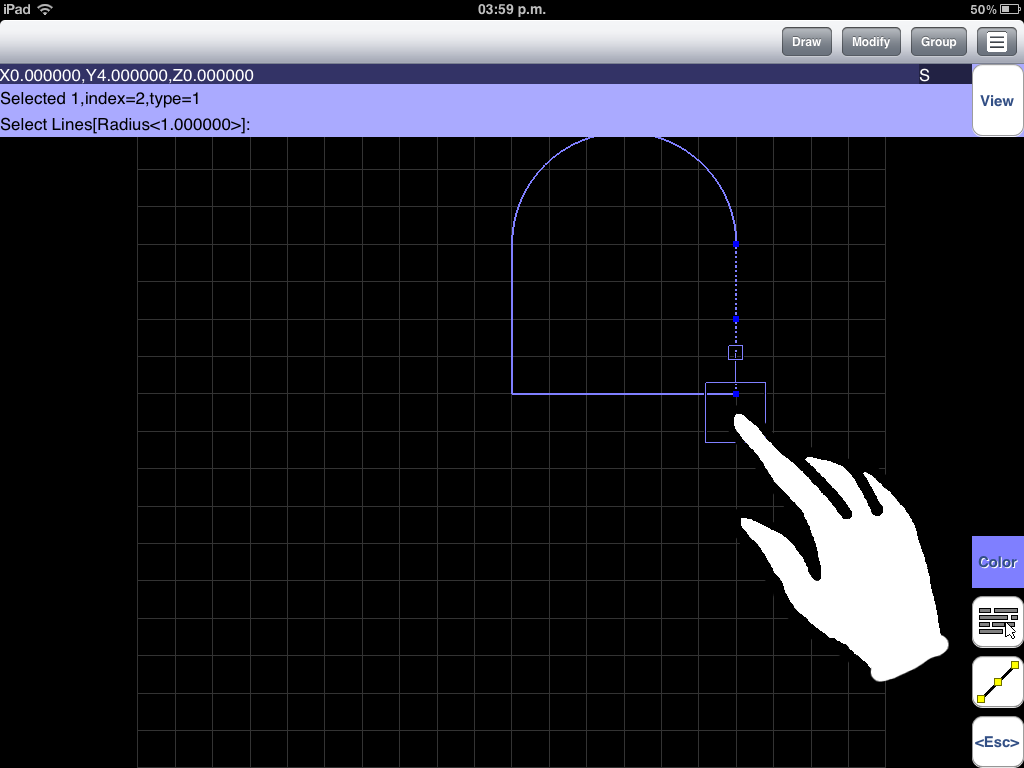
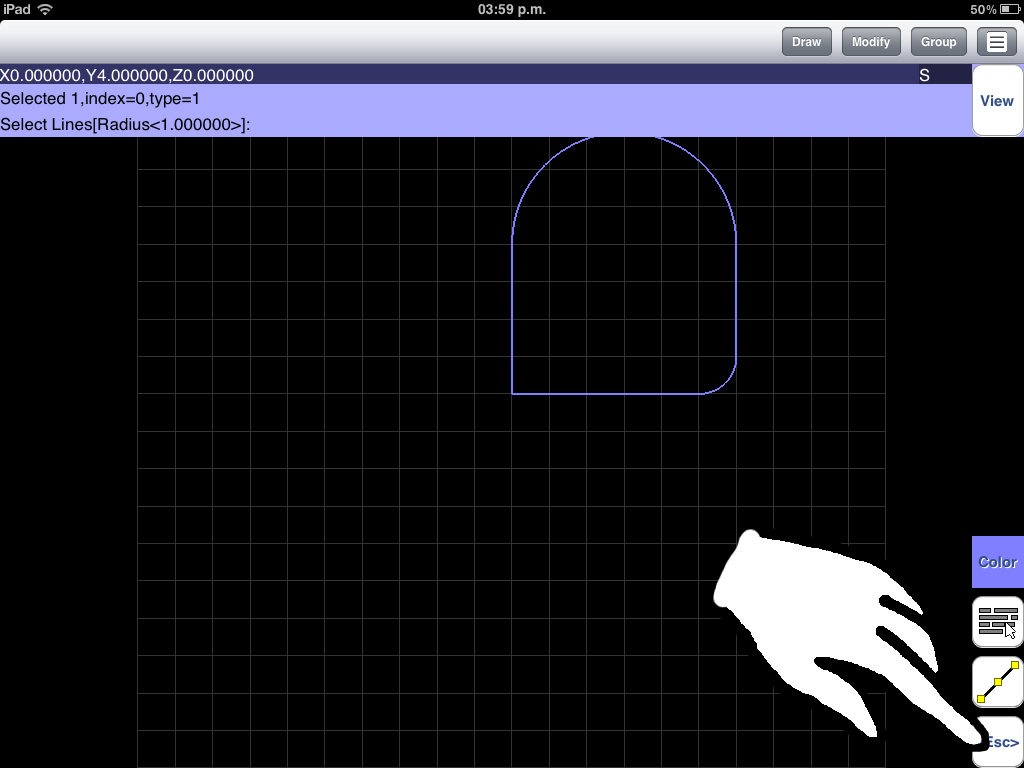
Select the right side of the line, then press Esc button to finish using Fillet tool.
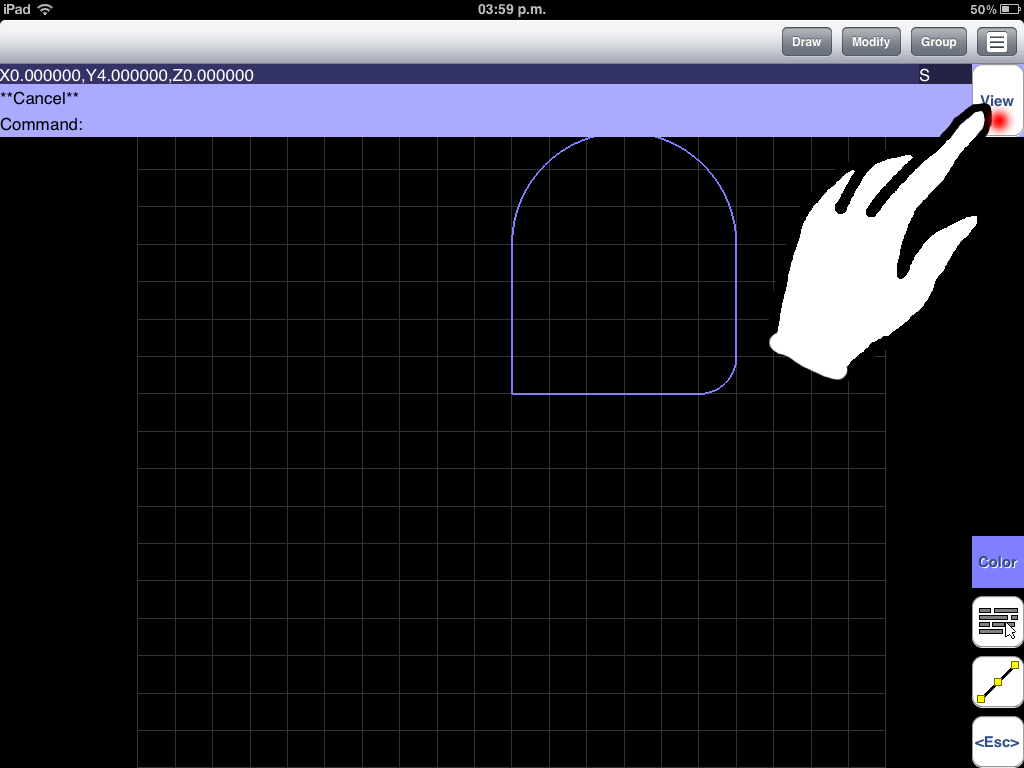
Press View button to see perspective of your drawing.
Touch and drag the view.